
Base Amigurumi Pattern
IMPORTANT: Unlike most amigurumi, which are made either from the top down or bottom up, this pattern is made from the middle. The legs are made first, and then the rest of the body. I prefer to use Cascade 220 yarn, as it comes in a ton of different shades so you can always find what color you want.
I only use 2 crochet hooks while making amigurumi; an F hook and an H hook. Most everything is made with the H hook. The F hook is used for smaller detail parts; most of those instructions will be on the individual character pages. Everything on this page uses an H hook unless specifically noted otherwise.
yarn, as it comes in a ton of different shades so you can always find what color you want.I only use 2 crochet hooks while making amigurumi; an F hook and an H hook. Most everything is made with the H hook. The F hook is used for smaller detail parts; most of those instructions will be on the individual character pages. Everything on this page uses an H hook unless specifically noted otherwise.
LEGS:
This should be done in whatever color you want the pants to be. If you want a belt, start with the belt color and then change to the pants color in row 2.
Start by chaining 30 stitches. Slip stitch the last stitch to the beginning stitch, making sure that the row isn’t twisted.
This should be done in whatever color you want the pants to be. If you want a belt, start with the belt color and then change to the pants color in row 2.
Start by chaining 30 stitches. Slip stitch the last stitch to the beginning stitch, making sure that the row isn’t twisted.
Row 1: even
Row 2: 15 sc, ch 6 (21)
Attach the chain stitch to the first stitch in the row with a slip stitch.


NOTE: Your colors may vary.
Row 3: sc in next 6 sts, sc2tog, sc in next 5 sts, sc2tog, sc in next 6 sts (19)
Row 4-5: even
Row 6: (sc in next 4 st, sc2tog) three times, 1 sc (16)
Row 7: even
If you want to make boots, change to the boot color on this row. If not, continue with the original color.
Row 8: (sc in next 4 sts, sc2tog) twice, 4 sc (14)
Row 9: even
Row 10: (sc in next 3 sts, sc2tog) twice, 4sc (12)
Row 11: (sc in next 2 sts, sc2tog) twice, 4 sc (10)
Row 12: (sc in next 1 st, sc2tog) three times, 1 sc (7)
Row 13: sc2tog all around. Bind off and weave in all ends.
Now start on the other leg.
You do not need to chain 6 again! When you are working the even row on row 1, simply single crochet in the already made chain stitches from the first leg. |
Row 1: even (21)
Row 2: Follow instructions above starting on Row 3 and continue until Row 13 is completed. Leave a long tail.
Once you are done with this leg, take the long tail and sew the legs together so they don’t point in every direction. Secure the yarn with a knot and stuff inside the leg.


These are what your legs should look like after they have been sewn together. Don't worry if the thickness is uneven, that will even out when you stuff it. What will NOT even out is if the leg length is uneven. If the length is uneven, it means you missed/added a row somewhere in one leg and not the other, and you'll have to frog the leg and redo it.
Row 22: (sc in next 4 sts, sc2tog) five times, sc in next 5 sts (30)

These are what your legs should look like after you are done crocheting them.

ARMS: Make two
You start the arm at the "hand" part, so choose your colors accordingly. Start with the skin color, and if your character is wearing long sleeves, row 4 is a good place to change to the shirt color. If your character has short sleeves, row 7 or 8 is a good place to change colors.
Row 1: 6 sc in 2nd ch from hook
Row 2: (sc in next st, 2 sc in next st) twice
Row 3: even
Row 4: even
Row 5: even
Row 6: even
You start the arm at the "hand" part, so choose your colors accordingly. Start with the skin color, and if your character is wearing long sleeves, row 4 is a good place to change to the shirt color. If your character has short sleeves, row 7 or 8 is a good place to change colors.
Row 1: 6 sc in 2nd ch from hook
Row 2: (sc in next st, 2 sc in next st) twice
Row 3: even
Row 4: even
Row 5: even
Row 6: even
Row 7-10: even
BO, leave a long yarn tail to attach arm to body
BODY and HEAD:
Once the legs are completed it’s time to finish the body. Start by picking up 30 stitches from the other side of the chain that you made during the leg instructions. Use whatever color you would like the shirt to be for this part.
Row 1-3: even
Row 4: (sc in next 7 sts, sc2tog) three times, 3 sc (27)
Row 5: even
Row 6: (sc in next 6 sts, sc2tog) three times, 3 sc (24)
Row 7-8: even
Row 9: (sc in next 5 sts, sc2tog) three times, 3 sc (21)
Row 10: even
Row 11: (sc in next 4 sts, sc2tog) three times, 3 sc (18)
Row 12: even
Row 13: (3 sc, sc2tog) three times, 3 sc (15)
Row 14: even
Change to beige yarn for the head. I prefer Vanna White's Beige yarn for all skin tones, as this is the most natural looking skin colored yarn I have ever come across.
yarn for all skin tones, as this is the most natural looking skin colored yarn I have ever come across.Row 15: (sc in next 2 sts, 2 sc in next st) five times (20)
Row 16: (sc in next 3 sts, 2 sc in next st) five times (25)
Row 17: (sc in next 4 sts, 2 sc in next st) five times (30)
Row 18: (sc in next 5 sts, 2 sc in next st) five times (35)
Row 19-21: even
Now is when you want to attach the arms, put in the safety eyes and stuff the whole body. Use a stitch holder to secure the last stitch you made and use the long tail from the arms to weave them into the body. Be careful to align them with the legs—you don’t want arms that are not in line with the rest of the body! I like to place the eyes around row 20-21, but you should use your own judgment to achieve maximum cuteness. Make sure you stuff the body very tightly, including the tips of the legs, which can be hard to reach. You can alter the form of the amigurumi with stuffing if you are careful—squish and squeeze to make your figure longer or fatter. |
Row 23: (sc in next 3 sts, sc2tog) five times, sc in next 5 sts (25)
Row 24: (sc in next 2 sts, sc2tog) five times, sc in next 5 sts (20)
Row 25: (sc in next 1 st, sc2tog) five times, sc in next 5 sts (15)
Row 26: sc2tog until head is completely closed. Bind off and cut the yarn and weave in the ends.
You're finished with the body! Now it's time to add the details to fully finish your character.
You're finished with the body! Now it's time to add the details to fully finish your character.


 . I mean, I know we made a lot of technological advancements from 1983 to 1999, but still, wouldn't you pick, like, 2099? Or 2199? Or something REALLY far into the future? Anyway. How cool is this plush DeLorean? Of course this is made by the same plush engineer who came up with


 ! I didn't think anyone besides me played that game. While it had a pretty unsatisfying ending, in my opinion, it was still pretty fun to play and looked gorgeous. Honestly, the screen caps of the landscapes were pretty much the entire reason I bought the game.




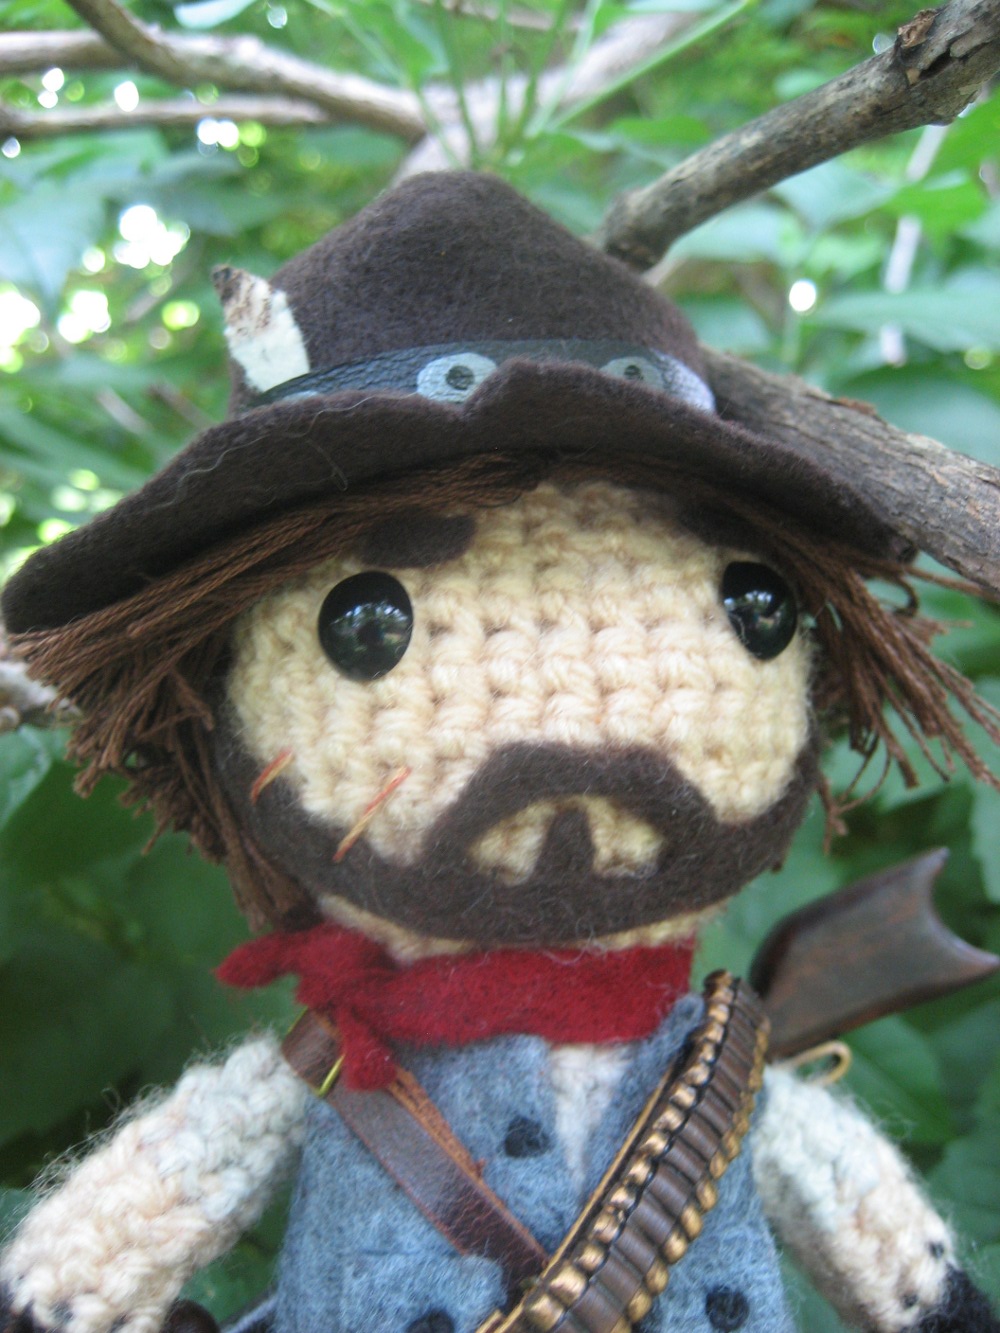
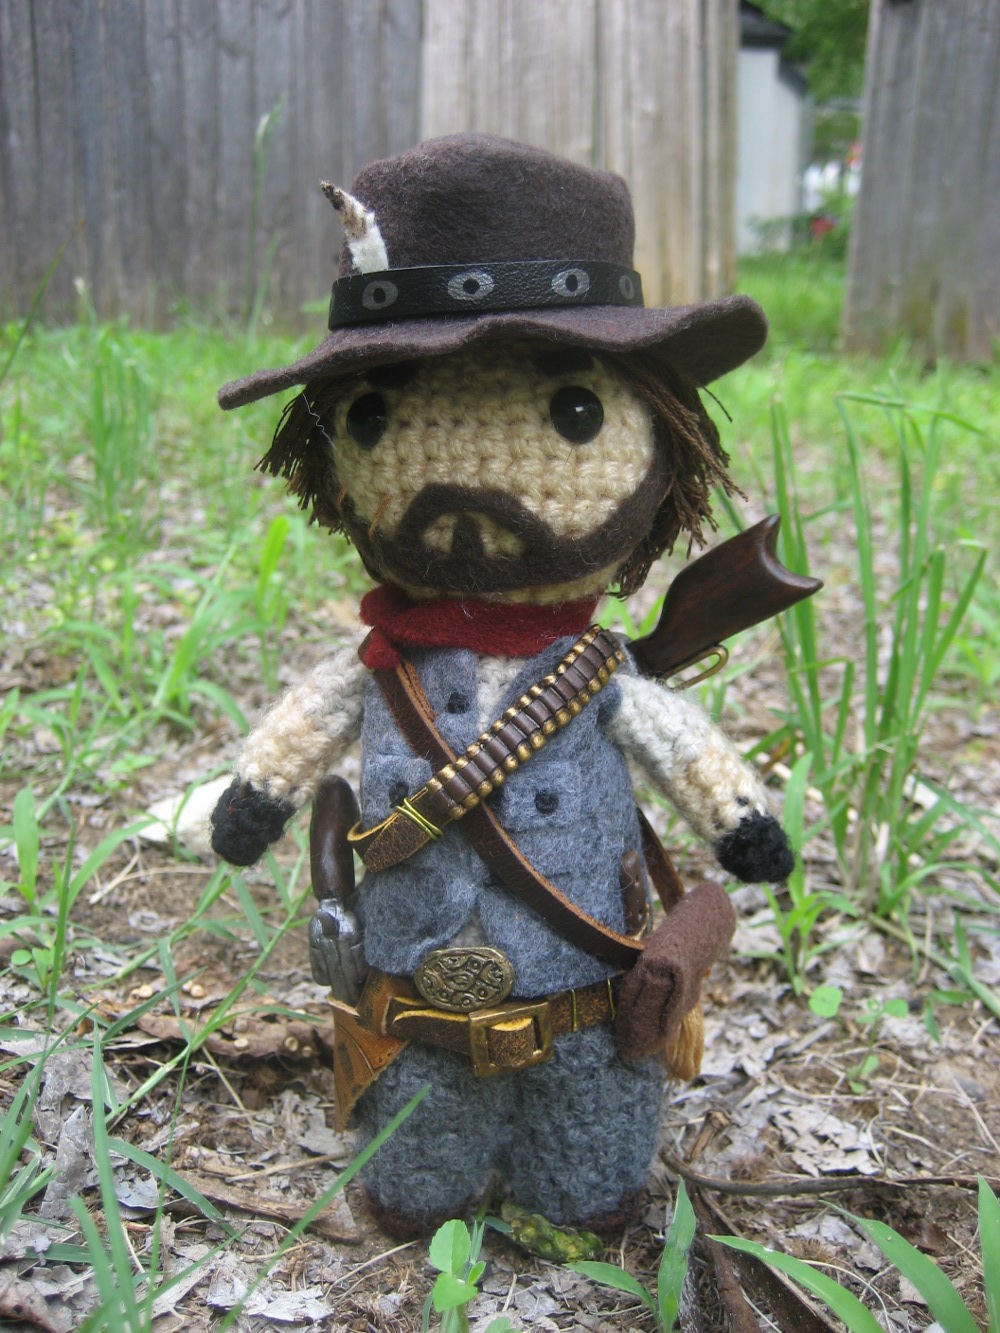
 movie, which I absolutely loved, which comes out on DVD next week and which I will be buying on day 1. And I also love Maverick! And Deadwood! (PS--The ONLY reason I saw the new Pirates of the Caribbean movie was because Ian McShane was in it. The ONLY reason I liked the new Pirates movie was because Ian McShane was in it, even though I felt he could have used more screen time. And a couple more expletives) Maybe I will have to reconsider my stance on westerns after all.
